


This past summer I decided I wanted to upgrade my hamster enclosure before getting a new furry friend. It measured 120 x 50 x 60 cm (6000 sq cm/~930 sq in) and was basically a big wooden box with a plexiglass front and a mesh lid on top. It had served me faithfully for the past decade, but there were a couple of things that irked me over the years and that I wanted to see fixed in my new enclosure.
Reasons for wanting to upgrade
- The enclosure was placed on a dresser, totaling its height to just around the height of my armpit. This was annoying because I couldn't easily reach in the enclosure to change things around. I later acquired another larger (and slightly taller) dresser that exacerbated the issue to the point I required a step stool to reach things inside. Apart from the enclosure looking a little silly on a dresser that was quite a bit longer, I really didn't like having to work on top of a step stool. Entering from above was the only way to interact with the hamster, and while it never interfered with the bonding process, I can't say I didn't feel like a predator reaching from above most times.
- The plexiglass front had warped over the years due to the weight of the bedding. It had also become quite scratched over the years. Nothing that couldn't be fixed by just replacing the plexiglass front, but...
- Over the seven hamsters this enclosure housed, I've noticed that, while I was always able to provide the necessities, enough enrichment, and a sufficient amount of bedding depth, I felt they would benefit from more space for more enrichment.
So, I figured, I built the last one. Why not just build another one myself? How difficult could it be?
I've just installed the last bits of hardware and it's now completely finished, so I'm here to show it off!

Essentially, it's a fancier wooden box that has a nicer finish than my last one. Made using 18 mm thick hardwood (either pine or spruce, I can't recall) plywood sheets, spruce planks for the lid and frame for the lower piece of glass, some mesh for the lid, some staining for a more uniform colour, varnishing to protect from urine and other liquids, aquarium silicone to seal it all up, and some hardware for locks, handles, etc. The handles for the doors are some kind of rubbery material. They're adhering well so far!
All supplies used are 100% hamster-safe.

More pics and details


--
Temporary enclosure inside of the final enclosure. The temp enclosure is where the young ham will live for about two weeks before moving to the larger one, just to ensure they don't disappear completely once arriving here and make taming more difficult, haha.

--
Close-ups on the locks


I added a lock in the middle of the lid below the handle; when lifting it up, it left a 0.7-1 cm gap that's just enough for a hamster to get their nose or foot caught in. I don't expect a hamster to be able to get there with the interior I have in mind, nor do I expect them to be strong enough to be able to lift it up, but I've also learned not to underestimate their clever fiendishness (or their determination). Adding the lock means that I can't move it while the lid is latched down.

--
The left door (right is identical)

And the overlap between the two sliding panes. I'll still be adding a lock. Again, I don't expect a hamster to be able to slide it out of place by themselves, but I'd rather not be surprised.

Pics of the process
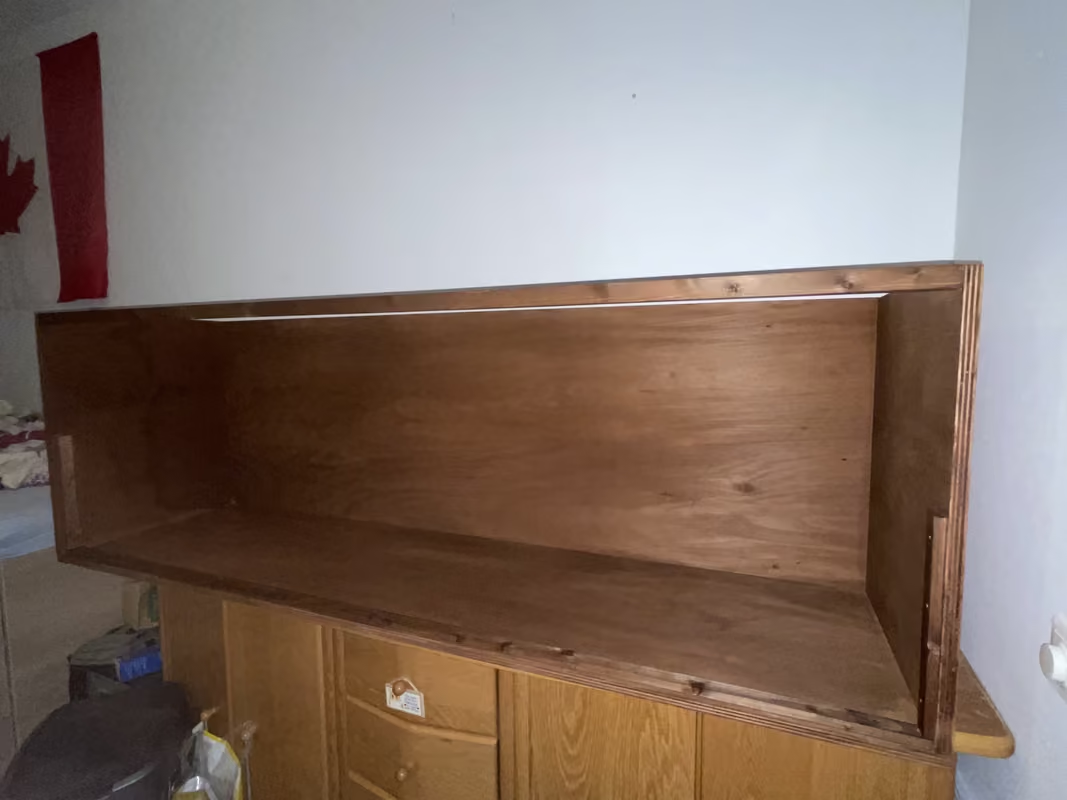
Results of day one. Essentially had all the wood panels cut to size and attached them together. The wood strips are to keep the glass in place without any bedding. Not that the glass was here at this point, but whatever.

Added a lid the next day.

Stained it to be a darker, more uniform colour.
Attached the lid permanently to the back of the enclosure using hinges. I don't expect to need to lift it off completely while doing bedding changes, and I missed the ability to just lift the lid without removing it off the enclosure entirely in my previous enclosure.

A full month later, the glass came in and I was able to attach it to the enclosure. I considered siliconing it in place but refrained from doing that because I'll have to move it at some point in my life and I'd rather be able to just unscrew the wooden frame and take out the glass without too much of a hassle.

Added the profiles for the sliding glass panes. I just glued them down using aquarium silicone. Room smelled of vinegar for the rest of the day. I'd recommend doing it outside if possible, haha. I also siliconed down the inside corners of the enclosure. I hadn't had issues with urine soaking in or hamsters chewing through the edges in my previous enclosure, but I figured I might as well do it while I was at it.

Glass panels for the doors came in a couple of days later, and, apart from the hardware, it was basically finished at this point!

Added a lid the next day.
Stained it to be a darker, more uniform colour.
Attached the lid permanently to the back of the enclosure using hinges. I don't expect to need to lift it off completely while doing bedding changes, and I missed the ability to just lift the lid without removing it off the enclosure entirely in my previous enclosure.
A full month later, the glass came in and I was able to attach it to the enclosure. I considered siliconing it in place but refrained from doing that because I'll have to move it at some point in my life and I'd rather be able to just unscrew the wooden frame and take out the glass without too much of a hassle.
Added the profiles for the sliding glass panes. I just glued them down using aquarium silicone. Room smelled of vinegar for the rest of the day. I'd recommend doing it outside if possible, haha. I also siliconed down the inside corners of the enclosure. I hadn't had issues with urine soaking in or hamsters chewing through the edges in my previous enclosure, but I figured I might as well do it while I was at it.
Glass panels for the doors came in a couple of days later, and, apart from the hardware, it was basically finished at this point!

Very happy with how this came out. A bunch of firsts in this project. Never worked with glass or silicone, or a staple gun. I really outdid myself, haha.
Next inhabitant is now two weeks old and will be arriving by the end of the month!